
I made one of these two years ago, but I need one more. Of course I didn’t find my original drawing and had to use the old one as a basis for my measures. Now I am posting this here for future reference.
The tools

What you need
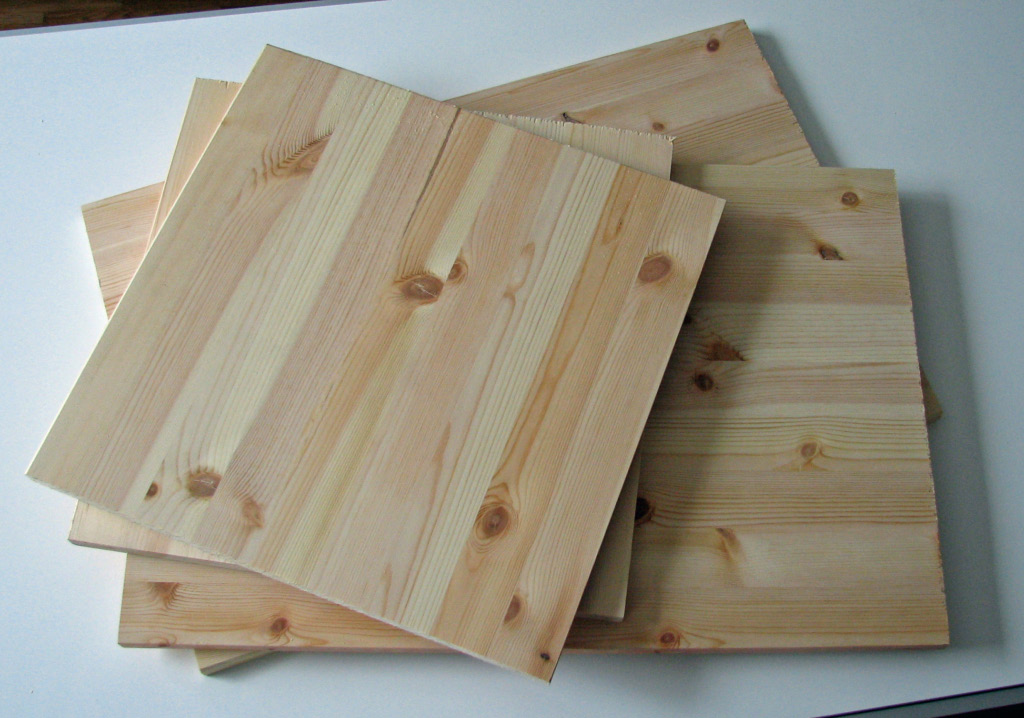

2 wooden plates of 40 x 40 cm
2 wooden plates of 60 x 40 cm
8 angle backets
I used two plates of 120 x 40 cm. One cut in two parts and one cut in three parts.
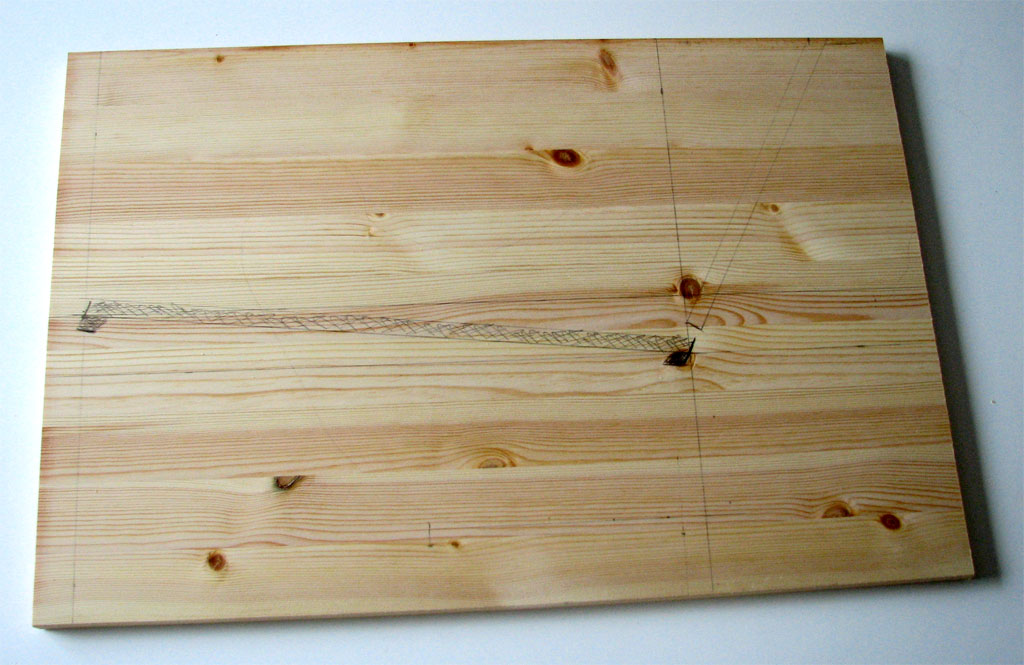
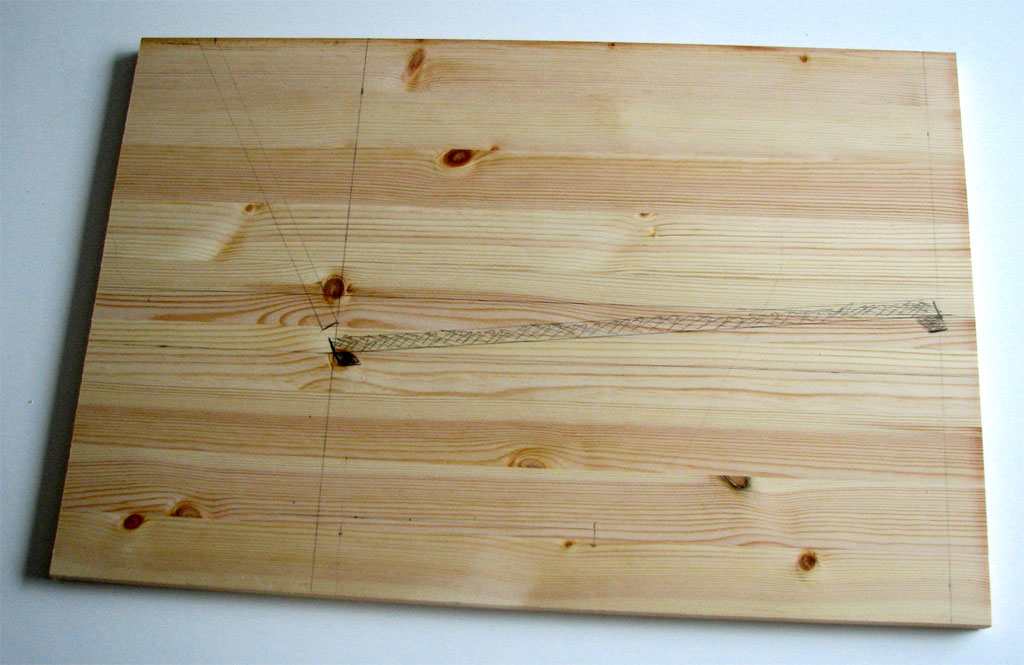
The measures

Measure out the details from my drawing on both the 60 x 40 plates. Important: one needs to be a mirror of the other one.
 Mount the 40 x 40 plates on one of the 60 x 40 plates using the angle brackets. Mount the last 60 x 60 plate and you are done.


It’s ready!

Now you can add a lick of paint. And something comfy to make it soft.

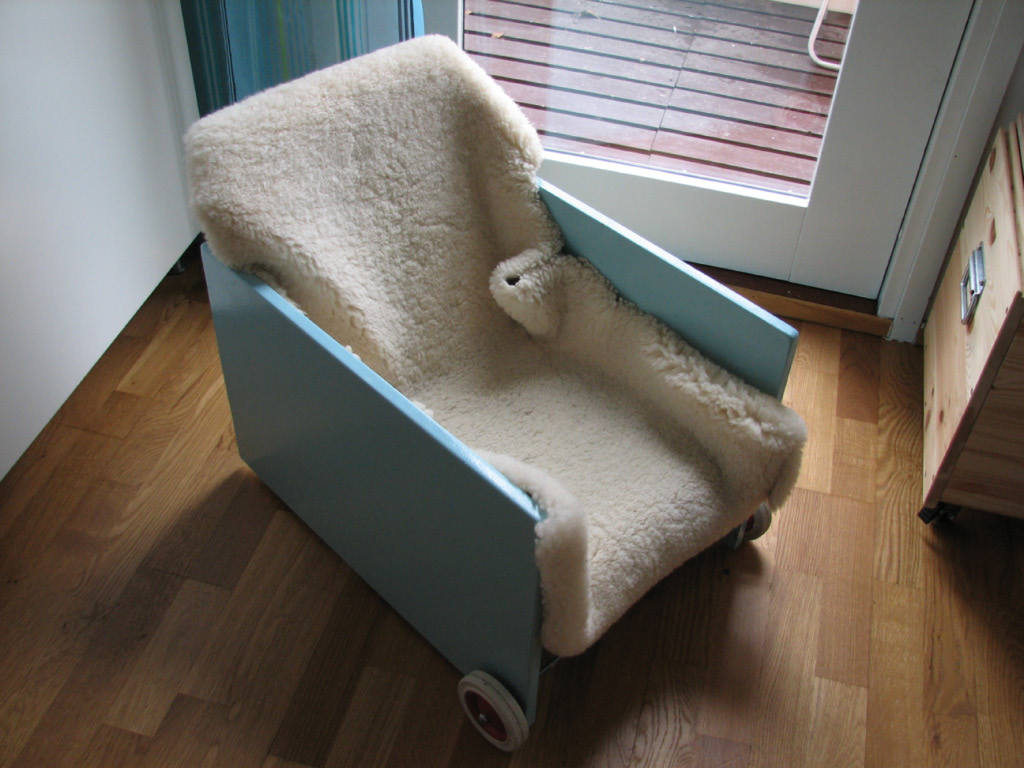
I have also added wheels to make it easier for the kids to move it around. No detailed drawings, but you intelligent people manage to make something out of these pictures…?


Update:
The wheels
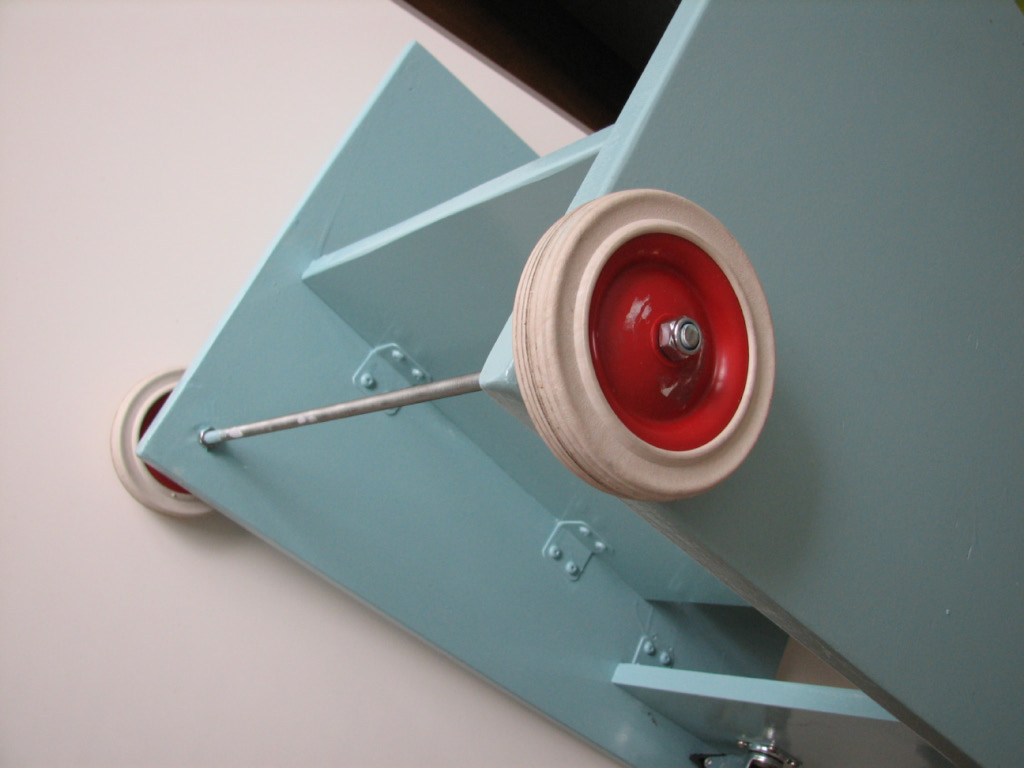
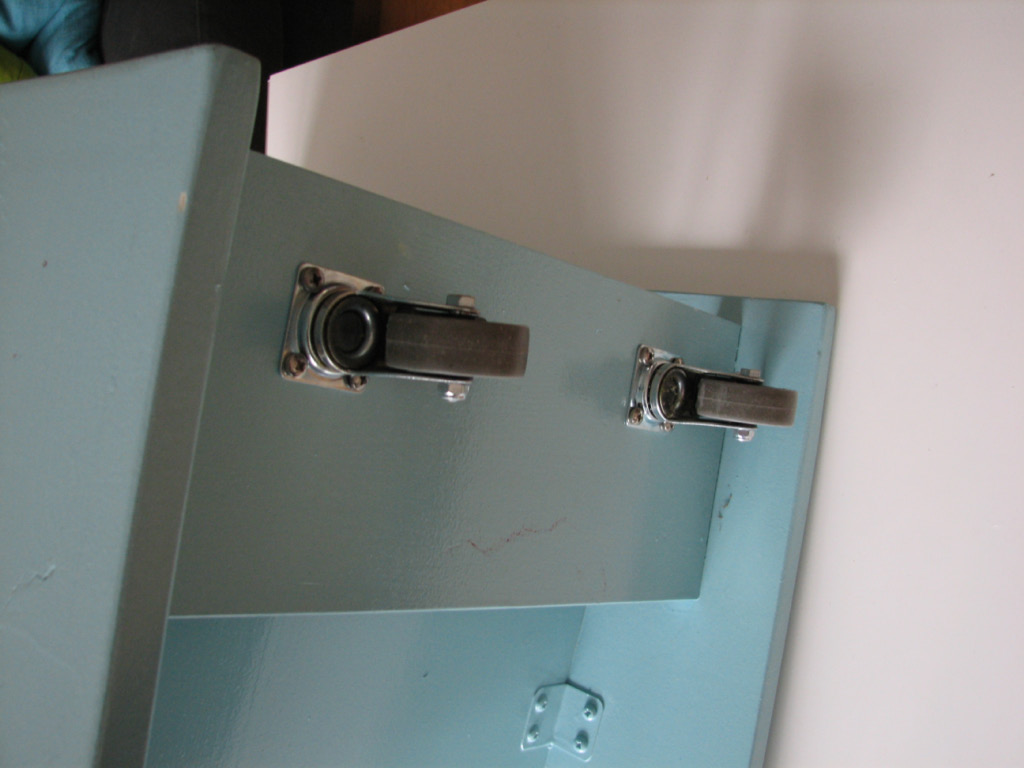
I understand that the part about the wheels is not much of a tutorial. And there is a mysterious piece of wood in there that is mentioned in the drawing and clearly visible in the pictures of the wheels but not mentioned in the inventory list. The plate that is used to mount the back wheels.


It is a plate that is 40 x 12 cm. It is mounted with the same type of angle brackets that is used on the rest of the chair. Depending on the size of the wheels you intend to use you mount it like indicated in the drawing or adjust a bit up or down.
I have used a set of completely rotating wheels that can be locked if you want the chair to stay in one position.

N1
Enkelt og greit. 🙂
…and because someone might have missed my last post. And, as a service to my english speaking readers. Here’s the translation of the previous comment:
N1 = Nice One
“Enkelt og greit” translates into “Simple as that!”. It’s Norwegian, a language even more advanced than l33t. 🙂
Next article must be:
How to Building a cool chair for your kids and make the wheels quiet/silenced – RTFM.
With those old (at least old looking wheels) you could silence your HTPC by letting the kids drive the cheer with the HTPC under it – Just make sure the HTPC i 100% wireless.
You must be a member of the NRK’s “…. og snurepipperier” or “Norske byggeklosser”.
Ur 1ofAKind
I can see you didn’t “rund an i kantan”!. My old “sløydlærer” is rolling in his grave!
Ouch. Actually I did go over it with some sandpaper to take off the rough edges.
I should have included the sandpaper in the list of tools you need…
And Lasse, it might not look silent, but it actually is! 😉
How to make a cool chair for your kids…
Eirik’s a handy guy: Two years ago I made a chair for my son that has been very popular. It works fine for years and is quite safe even for kids that can’t walk or sit properly. Because of…
There’s cleary some piece of wood between the seat and the chair back. It looks like a “quarter round” but the angles wouldn’t be right, so I’m wondering what it is.
Thanks,
Jeff
I guess it is the plate I used to mount the back wheels you have noticed. I have updated the post with some more information about that one.
Please let me know if the update still leaves important questions unanswered.
One of the more important questions is where did you get those front wheels?
The wheels are from the most essential shop of them all: Clas Ohlson. Link to te exact product here.
[…] Syndicated via RSS from del.icio.us/tag/diy Play adventure games on your […]
Well Done Mate!
I thought the chair looked great from a design standpoint before before it was painted and all the extra accesories that were added. I would love to be able to see the natural wood grain.
[…] liker gjenbruk og i kjelleren stod en stol jeg en gang hadde laget, men som guttene hadde vokst ut av. Vi tok utgangspunkt i den. Noe som også avgjorde litt av […]